


Tools & Materials
- Dead Blow Hammer
- Pencil
- Tape Measure
- Drill
- Hacksaw
- Brush
- Safety Utility Knife
- Set Square
- Screws & Rawl Plugs
Materials
- Premier Track Tiles
- Recessed Well Frame Edge


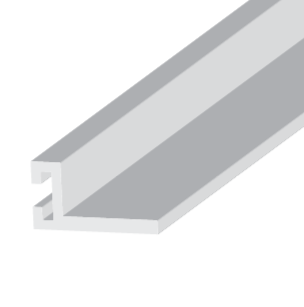
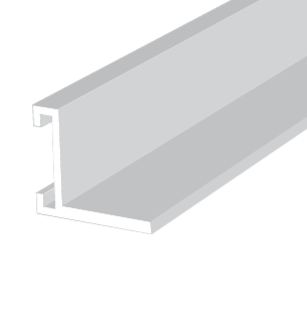

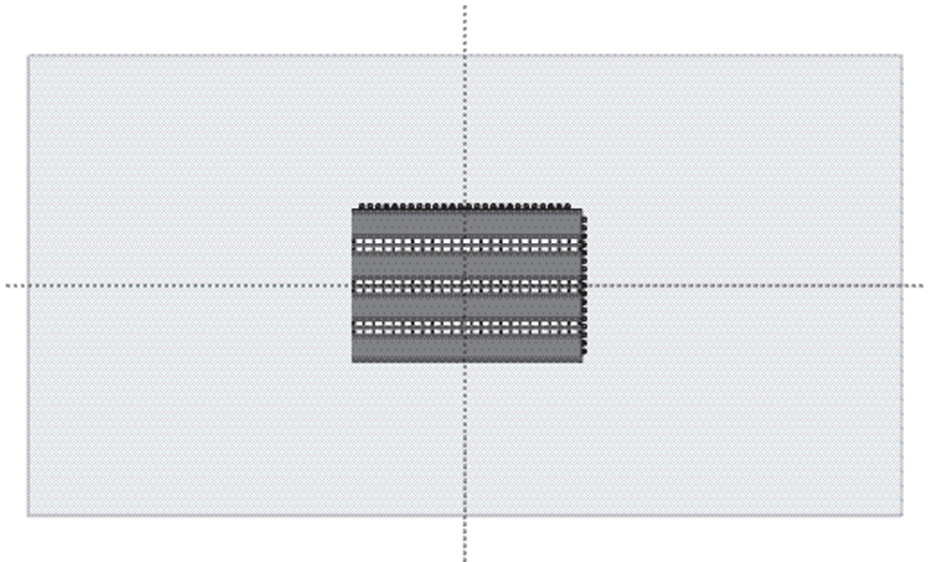
Unpack the premier track tiles and allow them to acclimatise to the environment before you start installation. Mark the centre of the matwell (black dotted lines). Place the first Premier Track tile in the middle of the matwell to begin mapping out how many tiles and cuts will need to be made.
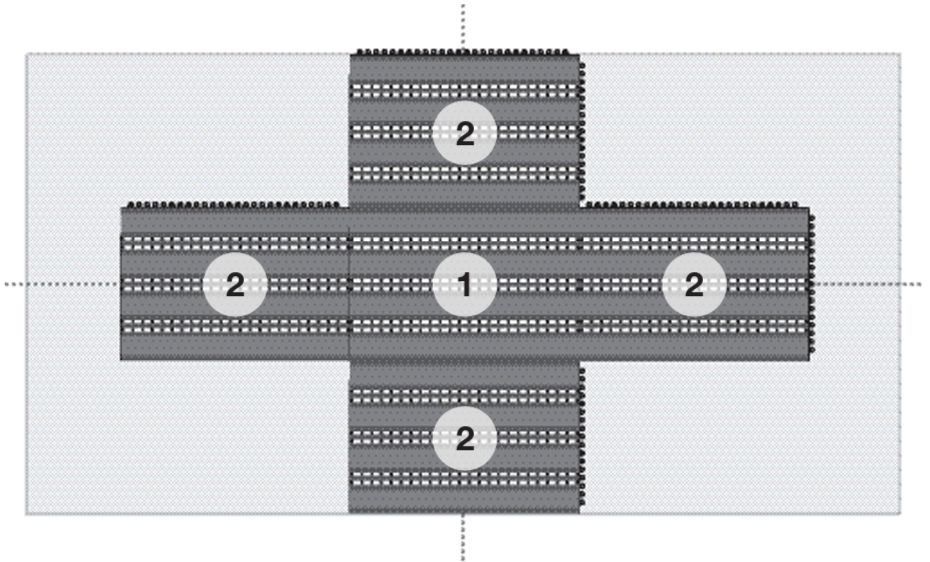
When placing the tiles in the matwell work your way out towards the edges. So that the mat looks central when finished equal amounts of tiles will need to be added to each side. Once you know how many tiles are going to be needed to fill the matwell use a dead blow hammer to attach all the full tiles together.
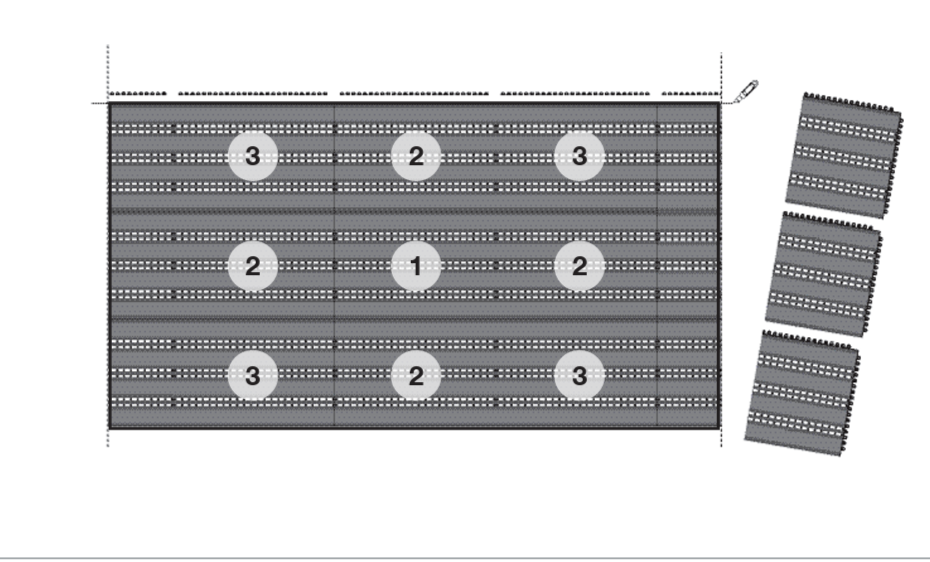
You will then be able to see how many tiles are going to need to be cut to size for the edges of the matwell (black dotted lines). You may also need to cut off any excess connectors. Start by cut one side of the tiles first, you then might able to use the cut off parts for the other side to reduce tile wastage.
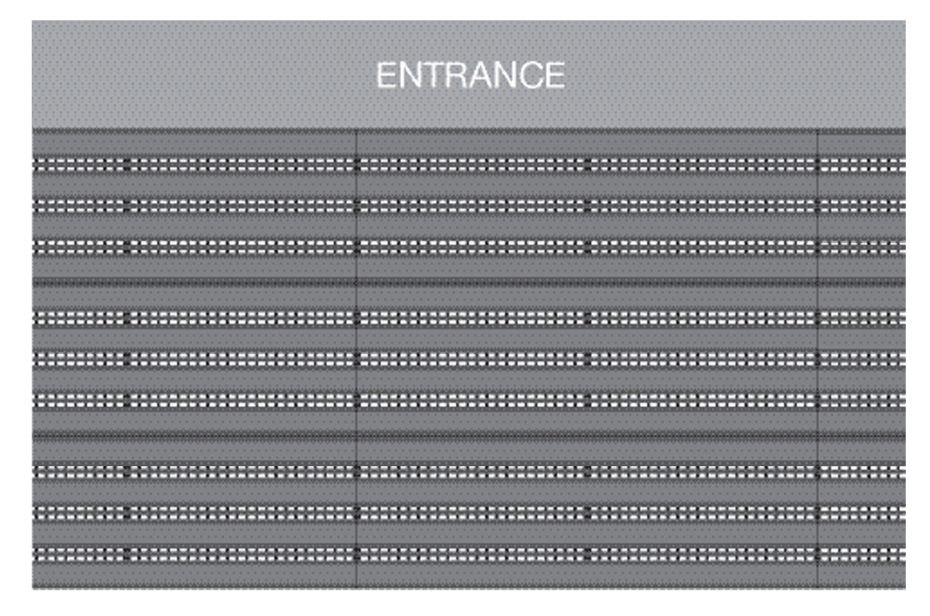
Once all the tiles have been cut and attached together the Premier Track mat should fit perfectly into the matwell. No drilling should be required to secure the matting in place. Any Premier Track tiles that get more wear and tear over time than others can be removed and replaced easily. To clean the entrance mat just use a commercial hoover, the matting can also be lifted up to remove any dirt and debris from underneath. If you require any additional information about the cleaning and maintenance of these tiles please email: sales@cobaflooring.com
For best results it is advised to install Premier Track tiles on a level and clean floor. Simply follow these simple steps to achieve a durable, clean and adaptable flooring finish in your chosen area:

Sweep the existing floor to ensure that the surface is clean and free of dust and dirt.

We recommend using a self-leveling repair compound in areas where there’s variations in subfloor surface. If not addressed, floor tiles may ‘dislocate’ at the connection interlocks (The smoother the subfloor is the more even and resilient your Premier Track Tiles will be).

We advise that Premier Track Tiles are laid in areas that have an ambient temperature between 16°C-24°C (Let the tiles acclimatise to the environment for at least 24-48 hours before laying).
Get the latest floor safety articles, product updates and offers.